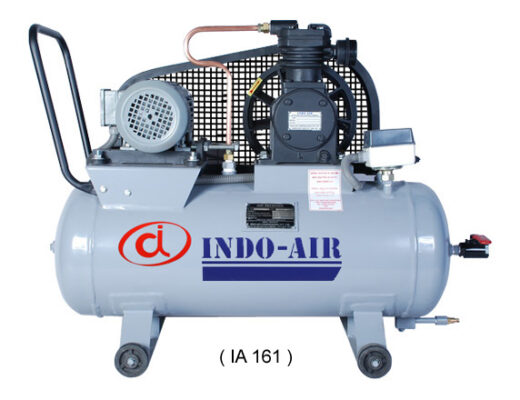
The air pressure requirements vary according to the job you want to perform. Depending on the requirements of your tool, the air pressure generated by your air compressor might not be sufficient. Being a machine, it comes with controls that you can adjust to increase or decrease pressure in your air compressor. However, before you set out to adjust the compressor controls, make sure to check the manual for safe upper setting. If you don’t seem to get ample information from the manual, your compressor manufacturer in Ahmedabad will help you.
Once you know how far you can go, here is a step by step guide to help you increase the pressure in an air compressor.
Step 1
Find the plastic pressure limiter switch cover on top of the compressor to begin with. Take a screwdriver and start removing the screws from the vented cover. Depending on the type of compressor you have, it will have either one screw mounted in the center or 4 screws mounted one in each corner. Take a bowl and keep the screws there safely so that you don’t end up losing them. Take off the plastic cover and place it safely somewhere along with screws. Make sure to lift the cover gently to prevent any damage if it feels stuck anywhere.
Step 2
Once you expose the limiter switch, you will find two limiter switch screws. Take a closer look and you will find that one is for the upper limit and the other one for lower limit, that’s what you are looking for. You can recognize the upper limiter screw with a brass spring popping out of it which is an indication for the upper limit switch.
Now, hold the screw and move it clockwise to increase the pressure limit.
Step 3
Turn on the compressor to see how the compressor responds as you start increasing the pressure limit. Keep adjusting the screw until the pressure reaches your desired value. When it comes to maintaining the high pressure, the lower limiter switch will come to work. You will find it besides the upper limiter screw. Turn the lower limiter screw clockwise so that the pressure doesn’t go too low. Since the pressure drops quickly in the compressor, it is important ro adjust the two screws smartly so that you can maintain the pressure you need for your job.
Step 4
Now bring the tool you want to use to test the adjustments you have made. Charge the tool with the pressure maintained by the new adjustments in the air pressure of the compressor. Test how the tool is working and make necessary changes if you are still not getting the right output. You might find it tiring in the beginning, but it will settle once you get used to it.
Keep the cover off until you are satisfied with the adjustment. One smart way will be to adjust the compressor as per the requirements of your most used tool so that you will not have to make frequent adjustments.
It is time to replace the cover if you are done. Bring the cover, screws, and screwdriver. Place the cover as it was and start tightening the screws in their place. Make sure the screws are well fit and tight so that the compressor doesn’t behave weird.
Getting the desired pressure will make your job so easy and it will save you a lot of time. Insufficient pressure also impacts the efficiency of your job and that’s why it is necessary to adjust the pressure if you have an air compressor in Ahmedabad.